How to Photograph Gemstones Before AI Enhancement
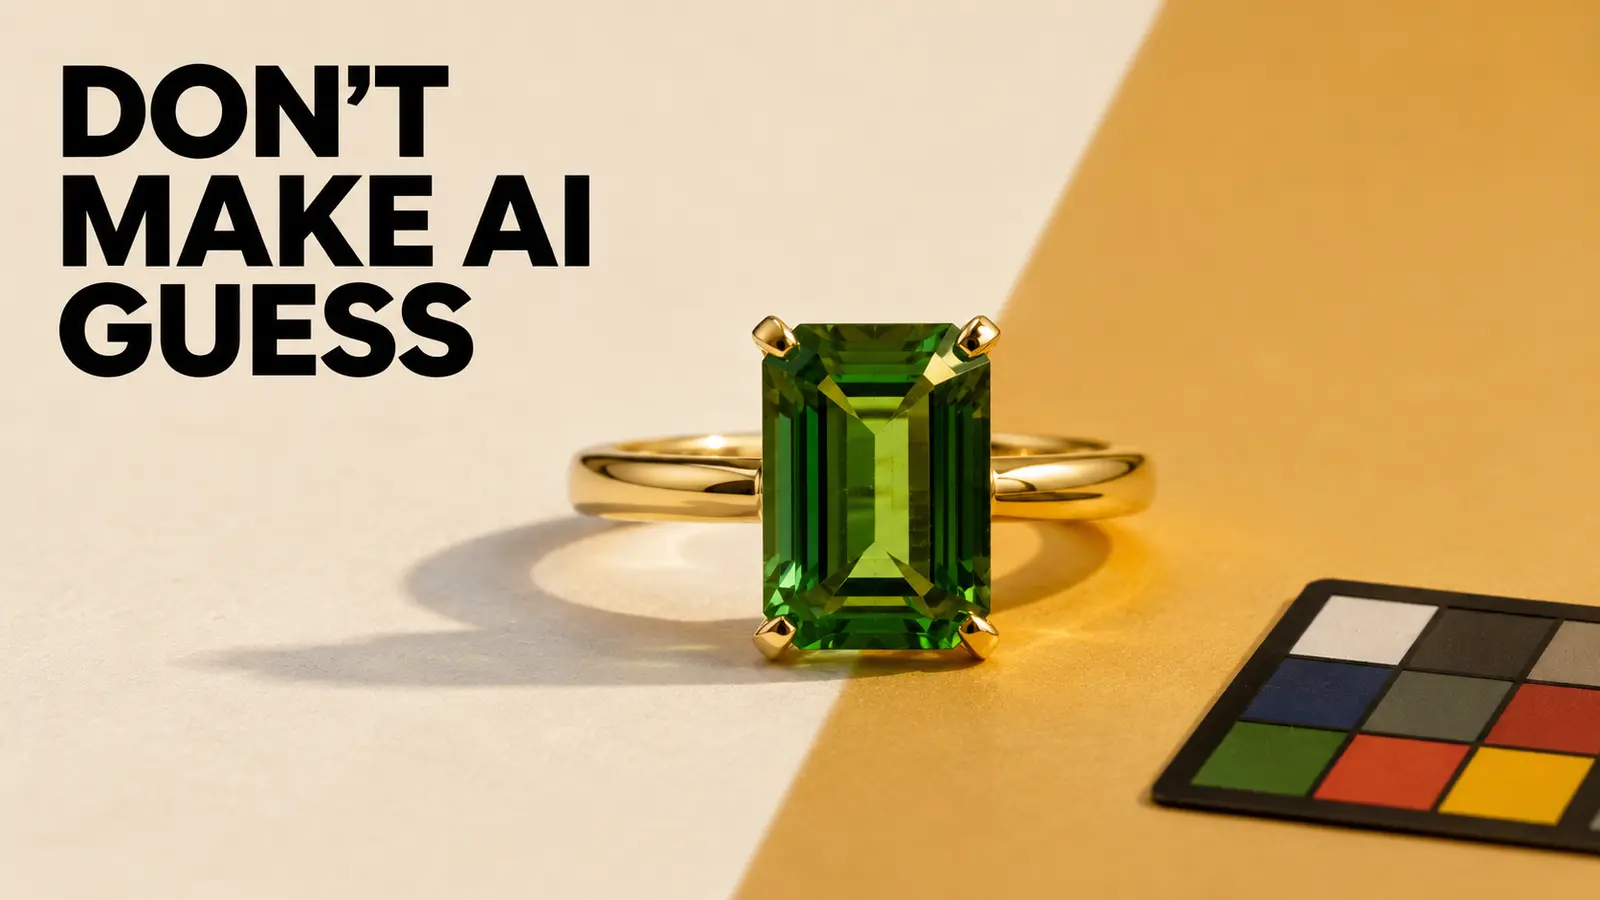
Imagine a sapphire halo ring arriving on an editor's screen as one beautiful phone photo.
The stone is sharp. The metal looks clean. But the light is warm, the center is almost black, one side of the gallery is hidden, and there is nothing in the frame to confirm scale. The image is attractive and still a weak source.
This is a hypothetical example, not a Poliro customer result. It shows the problem with gemstone photography before AI enhancement: an editor can improve presentation, but it cannot recover product evidence that was never captured.
The safest fix starts before the upload. Give the workflow a small source packet that separates what the stone is from what one lighting setup made it look like.
A good source image answers questions
Gemstones do not behave like flat color swatches. GIA explains that lighting affects diamond brightness, fire, and scintillation, while its guidance for gem photography recommends diffused rather than direct light to show color and soften shadows. Some visual phenomena also depend on microscopic structures, inclusions, and the direction of illumination.
That means a single dramatic frame can hide useful facts. A dark reflection may look like body color. A clipped highlight may erase a facet junction. A warm lamp may shift the apparent hue. A shallow angle may hide a prong or make an oval stone look rounder.
The goal is not to make the source photograph boring. It is to make it legible.
Specialist tools are already teaching parts of this workflow. JewelsRetouch publishes a useful general input checklist, and NeuroViz Academy gives operators practical tutorials for its jewelry-editing tools. Those resources are useful for getting started. The gemstone-specific gap is a repeatable capture packet that records color, facet behavior, inclusions, setting construction, and scale before any tool is asked to interpret the piece.
Start with a neutral face-up frame
The first photograph is the anchor. Place the piece square to the camera, keep the stone and setting in focus, and use soft, diffused light.
Do not optimize this frame only for maximum sparkle. The anchor should make the outline, center-stone shape, halo or side-stone count, prongs, and visible metal finish easy to compare later.
Lock the camera and lighting choices you can control. If automatic white balance changes from frame to frame, the source packet can create a false color disagreement of its own. Record the setup in a short note rather than assuming everyone will remember it.
Frame 1: neutral face-up
Capture the whole piece with comfortable space around it. Check that the stone is not buried in shadow and that the brightest reflections still retain texture.
This becomes the default geometry reference for the enhancement and the first image used in review.
Add one angle that explains the facets
The second frame should move the camera or piece only enough to reveal information hidden in the anchor.
For a faceted stone, a slight tilt can show how the crown, table, and major facet reflections relate. For a cabochon or phenomenal gem, a controlled change in angle may help document an optical effect that is weak or absent face-up. It should not become a second hero shot with completely different lighting.
GIA's current guide to phenomenal gems notes that effects such as chatoyancy, asterism, and play-of-color are tied to internal structures and the way light interacts with them. When that character matters to the listing, capture the conditions that reveal it and note that it is lighting-dependent.
Frame 2: facet or phenomenon angle
Keep the same background and exposure logic where possible. Change one variable—the viewing or lighting angle—and record what the frame is meant to prove.
That note matters. Otherwise an editor may treat a real optical effect as glare to remove, or treat a temporary reflection as a permanent stone feature.
Show the setting, not just the stone
AI enhancement often begins with a gemstone request and ends up touching the surrounding construction. The side profile is where many of the non-negotiables live.
Photograph the gallery, prongs or bezel, shoulder, shank, and any under-stone detail that affects the design. If the piece has a hallmark or engraving that must remain visible, add a close frame for it rather than expecting a distant source to carry that evidence.
This is the same product-truth principle used in the fidelity-first QA workflow: the source remains the authority for geometry and marks.
Frame 3: setting profile
Choose the side that reveals the most construction. If the two sides differ, capture both and label them.
Preserve inclusions that identify the stone
An inclusion is not automatically a defect to erase.
GIA's discussion of colored-stone value factors explains that inclusions can influence appearance and, in some gems, contribute to distinctive visual effects. GIA also uses photomicrography to document inclusions and other internal features. A listing workflow does not need laboratory magnification, but it does need to distinguish dust, glare, and compression artifacts from features that belong to the stone.
If a visible inclusion, color zone, or transparency pattern helps identify a one-of-one gem, photograph it deliberately. Mark the frame as a preservation reference. Do not ask an editor to infer whether a small line is lint, a scratch, or a natural feature.
Frame 4: identity detail
Capture only the features that are visible and commercially relevant. Keep the claim narrow: the frame documents appearance; it does not replace gemological identification or grading.
Give scale a defensible reference
A tight crop can make a ring, pendant, or loose stone feel larger than it is. Enhancement can strengthen that illusion if the output is later placed on a hand, prop, or generated background.
Add one source image with a known dimension or a reliable in-scale relationship. The cleanest reference may be a measurement recorded outside the hero composition rather than a ruler left in the final frame.
For mounted jewelry, record both the stone dimensions when known and the relevant piece dimensions. For a ring, that might include the face width and band width. For a pendant, it may include overall drop and chain length.
Frame 5: scale reference
Treat the measurement as source data. Do not stretch the piece to fit a composition and then rely on the written dimensions to correct the visual impression.
Record the light that produced the color
The last frame is not glamorous. It is a lighting reference.
Place a neutral reference in the same light and photograph it without changing the camera settings. The point is not to force every gemstone into one universal color. It is to help the reviewer understand whether a color difference came from the object, the illumination, the camera, or the enhancement.
Keep the original files. A compressed screenshot can discard useful color and tonal information before the workflow begins.
Frame 6: lighting reference
Save it with the SKU, capture date, light description, and camera or phone identifier. If the stone was also photographed under a second lighting condition because its appearance changes materially, label that as a separate evidence set rather than mixing frames silently.
Package the six frames with an ambiguity note
The images become more useful when the editor knows what not to guess.
Use a small manifest for each source packet:
| Field | Record |
|---|---|
| SKU or piece ID | Stable identifier used by the catalog |
| Stone | Known identity and the exact listing language |
| Frame purpose | Face-up, facet angle, profile, identity detail, scale, or lighting reference |
| Must preserve | Stone shape, color range, inclusions, zoning, prongs, marks, and proportions that matter |
| Allowed changes | Background, crop, dust cleanup, reflection control, or other approved presentation work |
| Ambiguities | Anything the images do not prove |
| Reviewer | Person who can compare the output with the physical piece or approved references |
The ambiguity field is the most important row. Write “left-side inclusion not confirmed” or “stone reads warmer under tungsten” instead of letting uncertainty disappear inside a prompt.
If the source packet cannot resolve a material question, route the output to review. Do not upgrade a guess into a fact because the image looks coherent.
Review the result against every frame
After enhancement, compare the output with the packet in a fixed order:
- Match the silhouette, cut outline, stone count, and setting geometry to the face-up frame.
- Check facet relationships or visible phenomena against the angle frame.
- Compare prongs, bezel, gallery, shoulders, shank, clasp, or links with the profile.
- Confirm that documented inclusions, zoning, texture, hallmarks, and engravings were not erased or invented.
- Check that the apparent size remains consistent with the scale reference.
- Judge color with the lighting notes visible, not from memory.
Use three outcomes: keep, review, or reject. “Review” is a blocked state when the references do not settle the question.
This protocol also makes the shoot-or-generate variant decision easier. A repeatable variant needs references for both design and material. A unique stone still needs photography when its individual character is part of what the customer is buying.
Final thoughts
Better prompts help. Better evidence helps more.
A neutral anchor protects geometry. An angle explains facets or optical effects. A profile records construction. An identity frame preserves relevant inclusions. A scale frame protects proportion. A lighting reference explains color.
Together, those six frames give an enhancement workflow less room to guess and a reviewer more reason to trust the decision.
Sources and further reading
- GIA: How to Photograph Gems & Jewelry
- GIA: 6 Tips for the Best Gem Photos
- GIA: How Light Affects a Diamond's Appearance
- GIA: A Guide to Phenomenal Gems
- GIA: Colored Gemstone Value Factors
- GIA: Digital Photomicrography for Gemologists
- JewelsRetouch: How to Prepare Jewelry Photos for AI Retouching
- NeuroViz Academy
Thanks for reading. If a gemstone image leaves a material question unanswered, I would rather capture one more frame than ask an editor to guess.
— Kristijan G
Ready to enhance your next jewelry photo?
Studio-quality results in seconds. Free to start. No card required.
One concise email. Unsubscribe anytime.
Related Articles
How to Add Sparkle to Jewelry Photos Without Faking the Stone
A practical protocol for enhancing jewelry sparkle while preserving facet patterns, stone identity, and product truth.

How to Export Jewelry Photos for Shopify, Etsy, and Amazon
A practical jewelry export matrix for choosing JPEG, PNG, or WebP without losing transparent edges, metal tone, gemstone detail, or marketplace compatibility.
How to Photograph Gemstones Before AI Enhancement
A practical six-frame source-photo protocol for preserving gemstone color, facets, inclusions, scale, and setting details before AI enhancement.